Custom Airbrushed Headphones
If you wan't me to make you a pair just email me
Or check out our new website CustomCans
Or if you want to see more check out the gallery
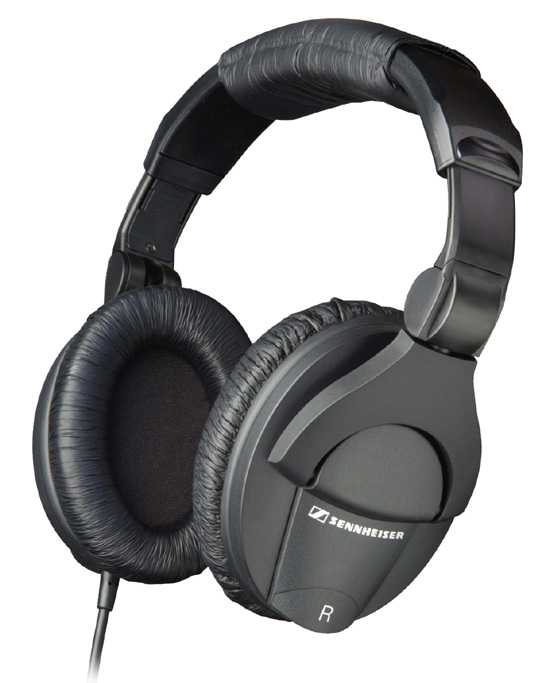
Ever fancied a pair of unique DJ headphones - Well this time in the Lab I will be showing you how. It just takes a bit of bravery, some masking tape and an airbrush. For this project I will be using a pair of Sennheiser HD280 headphones. They have always been my favorite because they give great sound quality at a good price and block out almost all external noise. They are ideal for this project because they are also quite big. - - - Well Here We Go!!
Stage 1) Dismantling - Take your time and try not to force anything. Make sure you note down there all the screws go to make it easy the put back together. Try to also take a note of how the cables are routed as this can save a lot of time when re assembling them. I think the hardest part of pulling these ones apart was working out how to get the cushioning away from the ear cup without damaging anything. In the end I resorted to actually reading the manual .... lol
Stage 2) Masking - Now you will want to mask off any areas you don't want to get paint in or on. Make sure you get all the airducts and hinge pieces. If you get paint on the hinges the headphones will not fold properly and the paint may chip off
Stage 3) Prepping - To make sure the paint adheres to the surface properly you are going to have to prepare it. First you will need to lightly sanded with a fine sand paper and then give it a coat of primer. Make sure you get every surface you intend to paint and don't lay it down to thick or it may wrinkle. Two thin coats are better than one thick one.
Stage 4) Base coats - Now I am going to lay down two or three coats of white paint until the headphones are completely white. This will help the colors I lay over it really come up nice and bright. Again make sure each coat is nice and even and let each layer dry completely before you lay down the next. In the case of the paint I am using it will need to be left for 6 hours to dry after each layer.
Stage 5) First Design Layer - This is when it starts to get fun. You may want to practice your design / colour scheme on a computer program like paint or photoshop to make sure it will look good. I have laid down a thin layer of day glow green and put down a design in ink. I know it is safe to use ink as there will be several more layers of paint and varnish going over the top to protect it.
Stage 6) More layers - To get the colour I wanted I had to put down another couple of layers of paint. Being very careful and giving it lots of attention to detail. Making sure you get no runs and letting each layer dry properly. You can tell things are finally starting to take shape. You can also neaten up any shading and edges as you go along.
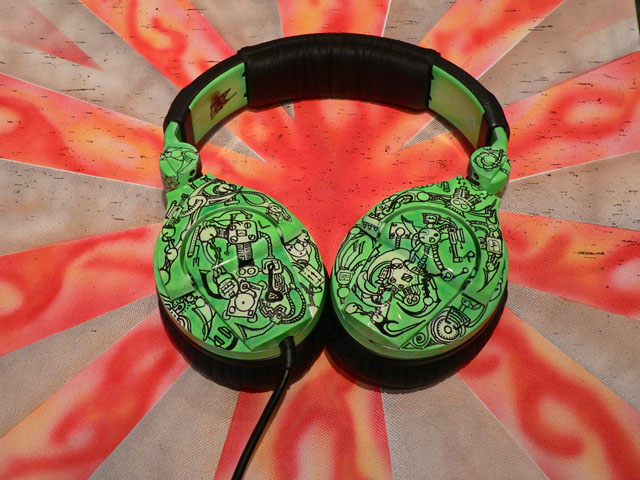
Stage 7) Finishing Off - Now you will need to go over everything with three or four layers of clear lacquer or varnish to protect the paintwork and make it scratch resistant. It also gives it a nice sheen. Then for the best bit - After everything is dry - remove all the masking tape - re rout the wires and put everything back together. Then give it a couple of days in a nice warm place just to make sure they are fully hardened and you are ready to rock.
Creating some 1off Headphones